Sunday 18 August 2013

The Itty Bitty Baby Dress

I don’t know about anyone else, but whenever I go shopping, there is one thing that can, without fail, make me smile and go all mushy inside, exclaiming “aww” and cooing at all those around me - and that, is baby clothes!
Now, I don’t have any babies of my own, and since the beginning of my sewing adventure, no one I know has had babies either – until now! My boyfriend’s sister has had a beautiful baby girl, and I finally feel confident enough in my sewing to tackle a new teeny, tiny (literally) project for someone else. Cue the Itty Bitty Baby Dress from Made by Rae!
 
 
This pattern is just adorable, and do you know what else? It’s free – yes, FREE! It comes in two size variations, one for a small newborn weighing 7-8lbs and a slightly bigger (though still miniature) 9-11lbs. I went for the slightly bigger size, as although she is only a very small baby; I don’t want her to grow out of it too quickly.
 
 
Even in the larger size, I was stunned at how little fabric was needed – I had leftover from ½ a yard of the main fabric, and the lining was leftover fabric I had from my Miette skirt. Throughout making the project, I kept pausing to swoon 
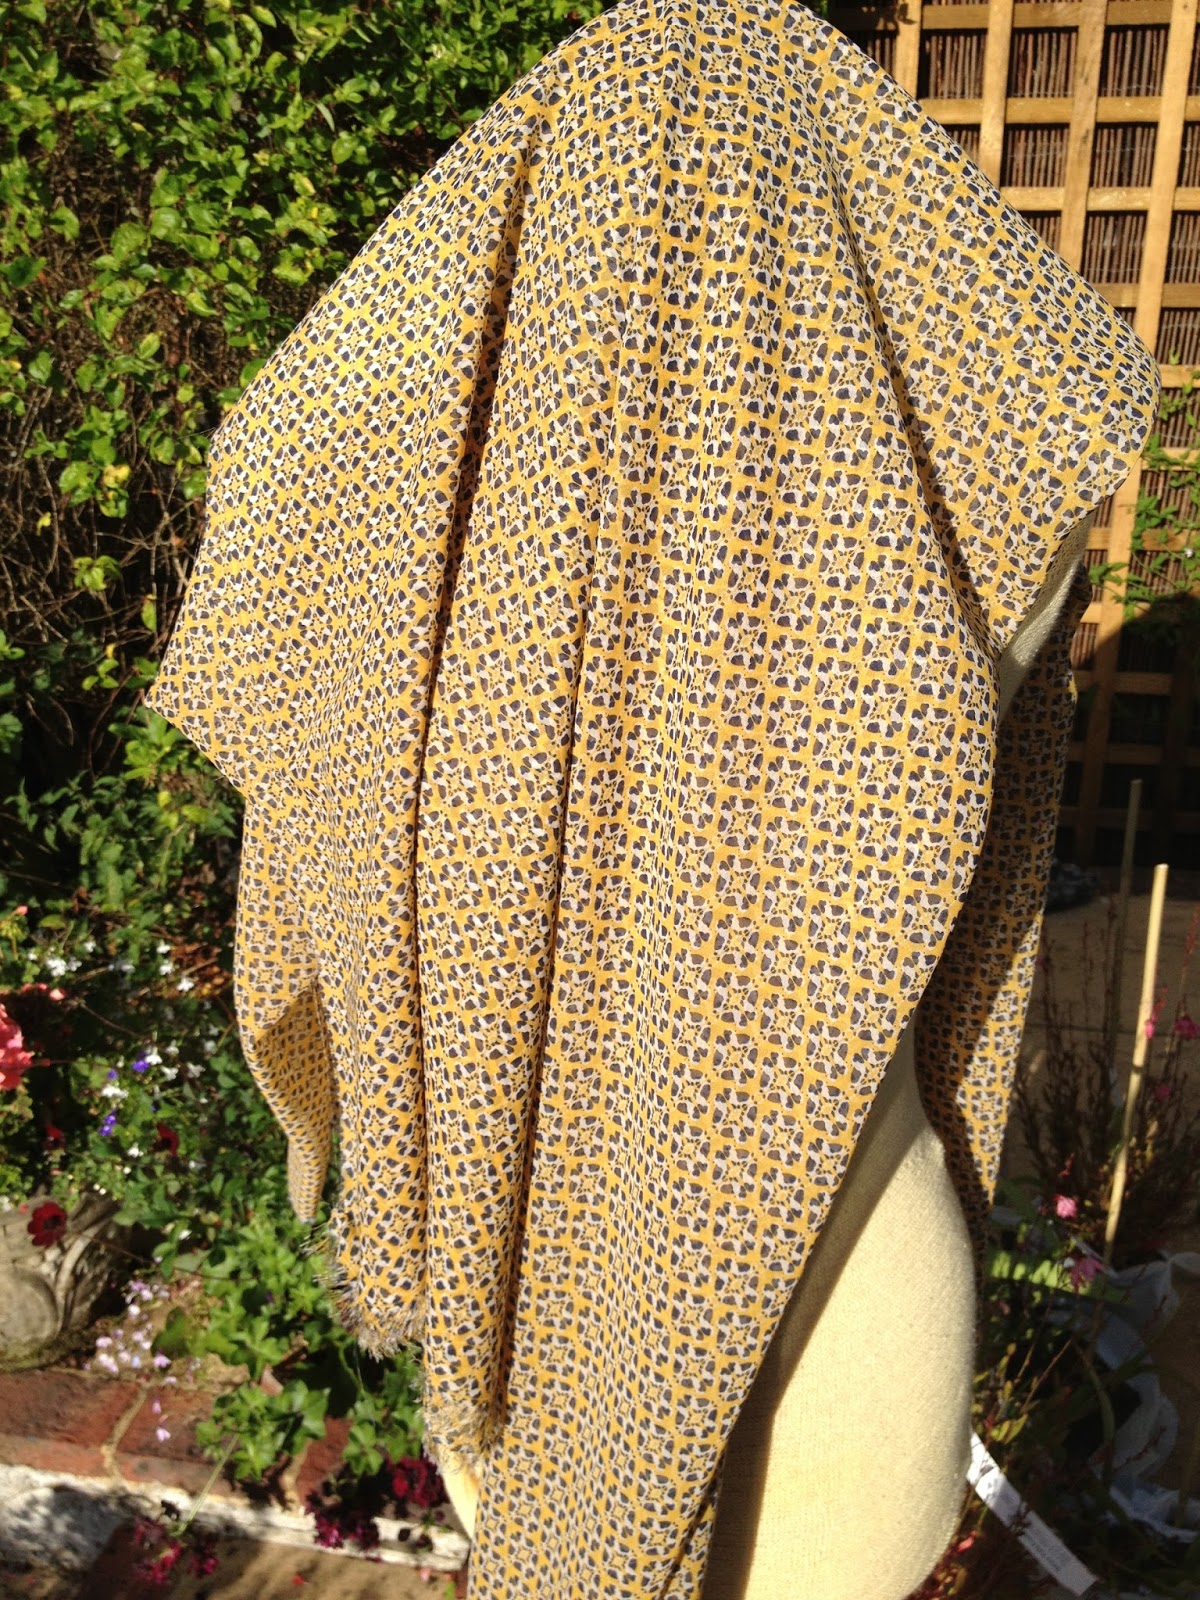
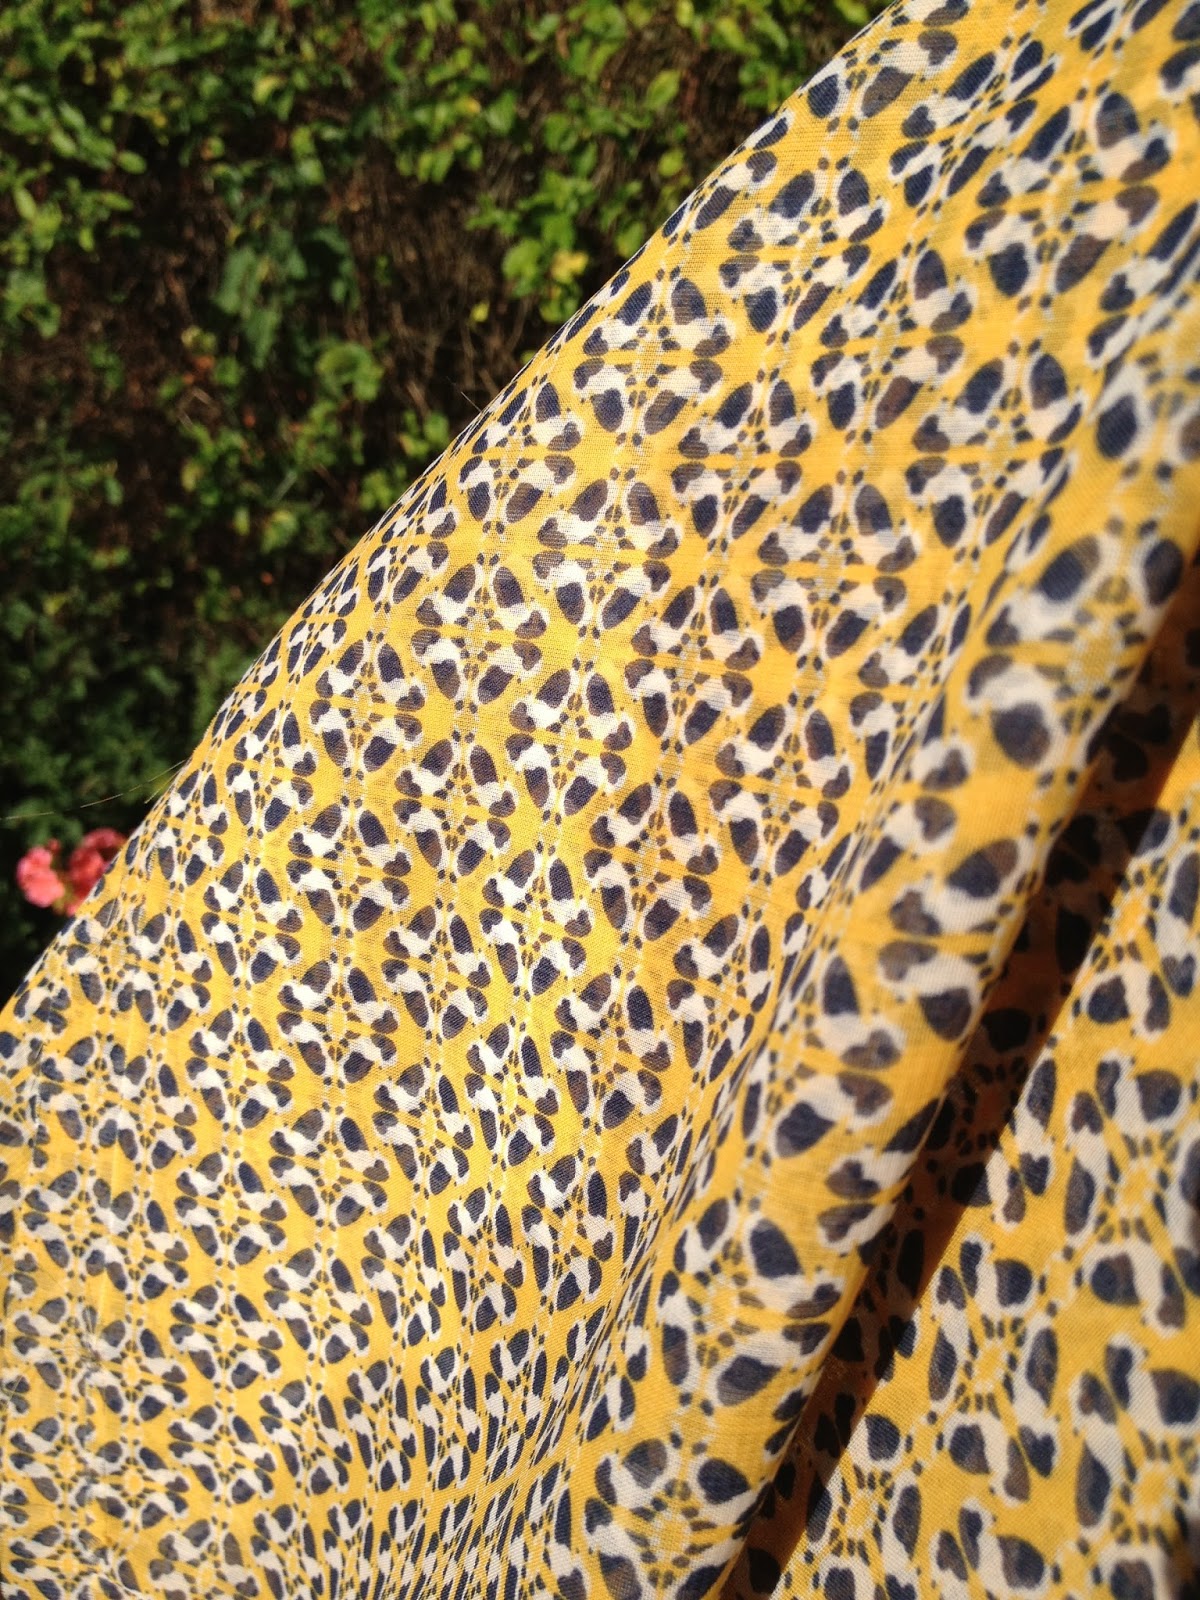
over how cute (and quite frankly, mind bogglingly tiny) it was. I also love the quirky, cutesy Paris fabric, I bought this on ebay months ago, and although I have always longed to include it in a project, none have seemed quite right, until now!  
When it came to finishing seams, I chose to use French seams (great tutorial here) so that they would be soft against her newborn skin, I didn’t want the dress to be at all rough or uncomfortable for her.


Assembling the dress was really logical, though Rae’s notes were handy to read through as this was my first baby garment. The pattern itself is so beautifully simple, that there is so much scope to customise it in lots of different ways. I chose to create the pattern as it was intended, as it is just so lovely, though I must say, I have lots of ideas for further incarnations!
 
This project was an opportunity for a couple more 'firsts':
 

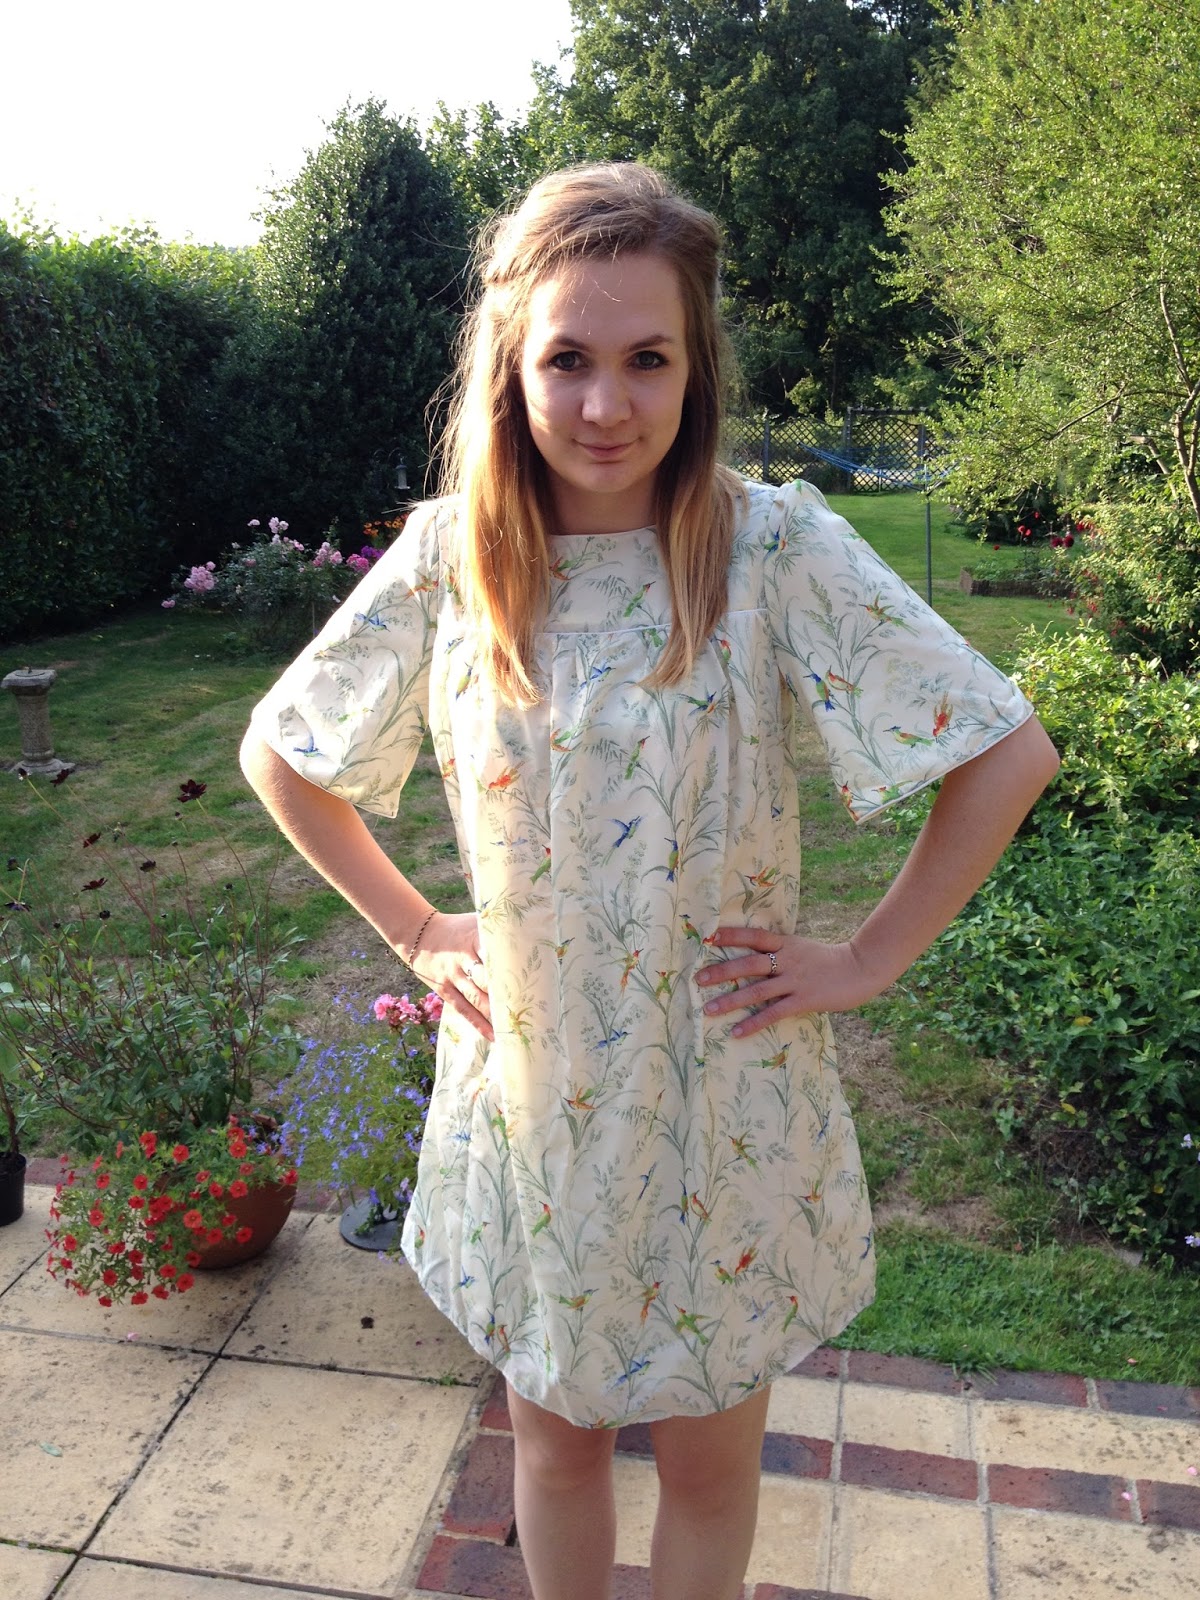
Just to give some perspective on how tiny this is, here it is hanging up next to one of my dresses!


- People in my life; have more babies please!
 

I Made Labels!

I made my own labels - for 7p each!!
 
 
I once tried to make a label from a piece of ribbon and some very dodgy hand stitching (it looked like when you used to write HELLO on your calculator) so abandoned labels for a while after that. Lately though, I’ve wanted to add a professional finish to my homemade items, and I think adding a label can help do that. There are lots of tutorials online and numerous different techniques have been suggested, but I thought I would share with you how I made mine too, ‘cause you can never have too many options!
You will need:
  • Your design
  • Computer
  • Fabric Paper
  • Basic sewing equipment
  • Very little computer knowledge!
I started off with some doodles before finalising my idea, however after 40 different attempts at drawing a decent cotton reel and writing my name until it lost all meaning (this happened after doodle 27, if you’re interested) I scrapped this idea entirely and instead, decided to link the label design to my blog (“consistent branding” if you will). On the computer, I copied the background image at the top of my blog, and simply typed ‘Threads From Em’ in grey. I did this on Paint – (I know some people may gasp in horror at this, but I’m not the most techy person in the world, and paint has always been a friend of mine!)
 
 
When I was sure I was happy with the look of the design, I saved the image and moved across to Word (gasp) and pasted the image into a table. I could only fit two columns of my label on to one sheet, because I was mindful of leaving a large enough border on all sides for finishing the raw edges, but if you’re design is smaller, you can easily fit loads more on!
 
Load the printer with your fabric paper - which is really great stuff! It is basically cotton fabric, backed onto paper which you peel off when your design is printed, I got mine here, set the print settings correctly as per the manufacturers instructions - I recommend a test run on bog standard A4 before printing on the paper, you want to make sure you’re happy with how it looks and the size etc., then print away!
 
 
Then cut around each one:
 
 
There are two ways I have finished the labels, one by zigzagging around the edge for a fun finish on a child’s garment, and the other by pressing and stitching a neat border around the edge.


Also, when I finally get round to making the Great British Sewing Bee PJ bottoms for my boyfriend, I have some more boy-friendly coloured labels too!
 
 
Oh and did I mention, mine worked out as a mere 7p per label?! (actually, o.o662p, but whose counting?!)

Wednesday 7 August 2013

Mathilde, Mathilde, Mathilde, Mathilde

If you have stopped by my blog before, you will know that I am an unreserved fan of the Mathilde Blouse, created by Tilly over at Tilly and the Buttons. This is not just a fleeting statement, but as you're about to see, this pattern has been a big influence on my recent makes. I have now made it (in some form or other) four (yes, four) times! I never intended to create so many variations from the same pattern, it just sort of happened. Hopefully, this post will show how, with a few simple alterations, you can use one (brilliant) pattern in so many ways!


Mathilde 1:


This was my first encounter with the Mathilde Blouse pattern, and as soon as I saw it, I knew I had to have a go at creating it. The big sleeves, the pintucks, the beautiful button back, yep, sold! I bought the pattern with excitement and anticipation, as I knew creating it would involve some new skills and techniques that would take me out of my comfort zone. As for the fabric, I stumbled across it during one of my many online fabric searches and just couldn't get it out of my head - you could say it stole my heart (sorry). There was only 1 metre left of this material, not enough to make the full blouse, so I had to make some adaptations - I turned it into a cropped, short sleeved version. A couple of months after I made this blouse, Tilly provided instructions on how to make a summery version of the classic original, which featured short sleeves, so I guess I had already sort of made one of these the other way round! (a complete coincidence, but I like to think this makes me a sewing psychic).

The first time I:
  • Bought and assembled a PDF pattern - I'm now a big fan of the immediacy of downloading a pattern, plus, I became reacquainted with my Pritt Stick!
  • Made buttonholes! This was something I had avoided for a long time, and even after turning every piece of scrap fabric I owned into a buttonhole shrine through practicing, these are far from perfect - I have to make sure that I wear something underneath at all times, because I made the buttonholes too big for the buttons (which I love - thank you Cath Kidston!) All this aside though, I'm still really proud of this blouse and wear it regularly.


Mathilde 2:


The pattern as it was intended! I made the classic blouse for my mum for her birthday earlier this year. She had, for a while, been admiring my summery Mathilde, so with her birthday around the corner, I decided to make her a blouse of her own! The fabric was a dream to work with - where I wanted a pintuck, the pintuck there was! Gathered cuffs? No problem, the fabric bunched beautifully. This might have been one of my most straightforward makes to date.

The first time I:
  • Made a garment for someone else! That may make me sound like a selfish stitcher, but really it is just so much easier to measure  and make things for yourself - plus, I can forgive a couple of mistakes, (remember on school reports when you got awarded for effort?!) I set myself the task of ensuring this was my best make to date as my mum really deserved it - and you know what? When I made it, I really think it was! 


Mathilde 3:


For a long, long time, I have wanted to make a loose fitting, flattering dress, that didn't leave me looking like I was playing dress-up in one of my dad's work shirts. This certainly seemed to be an impossible task for a significant period of time; but then, when I was abandoning hope, there was the Mathilde - what if it became a dress? Within days of entertaining this idea, I was scrolling through the Mathilde Makers Gallery and I came across Katy's dress version - it could be done (eee!) and done, it was! I love the colour and drape of this dress, before parting with any money for it, I assembled mood-boards of orange and coral dresses, just to be sure I was truly committed so something so bold (I was).

The first time I:
  • Strayed away from good old safe cotton! If cotton is the Prefect of fabric school, then the fabric I chose was definitely the rebel of the class, most likely to be found in detention or bunking off lessons. I won't lie, I am not a fabric expert (this is something I absolutely have to work on) and can't for the life of me remember what material this is, but I had never worked with a slippery, slidey fabric before. There were definitely some hiccups along the way (the pattern doing a sterling impression of Bambi on ice against the fabric) wonky pleats (which I reworked until they were worthy of the pattern) and uneven hemlines (I inadvertently made a high-low hem- I went with it, and am really pleased I did!)


Mathilde 4:


I'm pretty sure that calling this a Mathilde at all is somewhat inaccurate, however the pattern I made originated from the Mathilde base - so I'm sticking to it! I removed the button back, chopped the sleeves into wide, shorter ones, instead of pintucks, gathered the front of the dress into the bodice, and finished the sleeves, neckline and bodice seam with bias piping. I was able to have a lot of fun with this make, as I had nothing to compare it to - hacking the pattern meant I wasn't comparing my own creation to those made by more experienced sewists.

The first time I:
  • Completely hacked a pattern (sorry Tilly!!)
  • Piped seams (as mentioned in my previous blog, I am now in love with this technique!)
  • Stitched a rolled hem (sort of - I found a fab tutorial on how to create one without a rolled hemming foot)
  • Lined a garment when there were no instructions to do so.


This completes my Mathilde collection...for now...I don't yet have an original version of the blouse for myself - so much potential!

Tuesday 6 August 2013

Praise for Piping

I have been a little absent from the blogosphere this past week, and even though I only started my blog less than a month ago, I have genuinely missed it - that's right, I have well and truly been bitten by the blogging bug - I don't think there is a vaccination against it yet, so it looks like I might have to stick with the condition for a while...

Despite the lack of activity online, I have been super busy in my sewing room, (yippee!!) and I have realised that I'm starting to sew in blog-mode, thinking about what I can do to challenge myself and make things I will be proud to share with you all. I have been stepping out of my comfort zone and am constantly seeking new techniques to try out - I still have sew much to learn (pun totally intended and I'm not even sorry) and will be updating again in the next couple of days with news and pictures of what I have been stitching - you know, to prove I haven't just been skiving!

To give a little hint in the meantime though, I wanted to share a new discovery; I LOVE piping! Now just to be clear, I have not expanded my horizons as far as venturing into plumbing, or indeed baking, but I mean piping cord. I have used it to border lots of cushions before (in fact, thanks to my mum's soft furnishing talents, I never knew there was any other way to finish a cushion) but I've never used the technique in clothing, though have always admired it and all the beautiful effects it can have - adding focus, contrast, a pop of colour or even a smart, crisp finish - however it is used, I think it adds a timeless touch of elegance and professionalism to a garment. 

Here are some of the pretty piping garments that have inspired me. Clockwise from bottom left: Stella McCartney Spring 2010 Collection for GapKids (accessed from momfinds.com) - White and Blue Pinstripe Linen Sailor Wiggle Dress (accessed from coletterie.com/folksy.com) - Retro Butterick B4790 1950's dress pattern - Havren Contrast Piped Dress (accessed from tomoliandwill.com) - Red Olive 1950's Style Swing Dress (accessed from retrovixens.com) - Milly Pop piped dress (accessed from wishwantwear.com)

You will be able to see my efforts in my next post, but I have fallen so in love with piping that I thought it deserved a post all to itself! I was amazed at just how simple this beautiful technique was to get to grips with - largely thanks to great online tutorials, such as this one and a little bit of practice! I will definitely be using this technique again very soon!

Monday 29 July 2013

We’re off to see the Wizard, the Wonderful Wizard of...

...Goldhawk Road! Ok, so admittedly that makes no sense, but it was magical and all on one road, which, in certain lights, you could pretend it was yellow. No? Ok, moving on...


This weekend, for the first time ever, I visited the infamous (in the sewing-sphere) Goldhawk Road, and, as I predicted, fell madly in love! Forgive my gushing review if you are a frequenter of this street, but with it being my first trip, I felt like Charlie stepping into the Chocolate Factory (do I want to reference anymore classic films in this post?!*)
 
Fabric shops lined both sides of the street and they were filled with people – it was great to see so many people who love to sew all in one place (for the most part, watching people fighting over remnants can wear thin after a while...)
 
Where I live, fabric shops are in short supply and when you do find them, the variety can be limited and you can expect to pay on average between £7-£17 per metre. One of the reasons I make my own clothes is to be cost efficient, so when you are spending more on materials than it would cost to buy a dress on the high street, this justification is hard to make. Though, as my friend Sophie who came with me asked; “why do you need a justification to buy fabric?” An excellent point, my friend - I will shop with you again!
 
Sadly (and stupidly) I didn’t make a note of the names of all the shops I went to, instead we searched each shop in turn and mentally made a list of our favourite prints, if I had been on my own I would probably have bought something in each shop, only realising afterwards that I like something even more in the next one - I think this has been another lesson for me – don’t buy fabric alone!
 
Each shop had more fabric than I could fathom, sometimes, this almost became a hindrance, I probably missed some lovely fabric because I was blinded by all the others - oh well, I guess I'll just have to visit again, what a pity! In one of the shops, the owner was telling me that there is a chance his shop, and 3 others around it, may be redeveloped, he didn’t go into great detail, but I really hope this doesn’t happen! If anyone knows anything more about this I’d love to know.
 
Once we had revisited each shop (twice) we took a slight detour to Shepherd’s Bush market on a hunt for feathers resembling a hummingbird (as one does) and somehow found ourselves in another fabric shop tucked away behind one of the stalls - oops. In my world of excitement, I completely forgot to check the name, but I know exactly where it is so, I will definitely find it again! (I've just realised how very unhelpful this post is "I once went somewhere I can't remember which was near somewhere else the name of which escapes me..." - sorry everyone!)
 
In the shop, we were swiftly greeted by a man who revelled in telling us that the store was family owned and had been there for 94 years, he was such a character and was so passionate about his work and fabrics – particularly in telling me that one of the fabrics I was looking at was only for “old ladies” to buy – I’m frequently told by my boyfriend that I am old before my time, so this didn’t faze me at all! Aside from the great personalities in the shop, I was/am staggered by the prices, which ranged from £1 – £1.25 per metre!! (I’ll give you a minute to pick your jaws up from the floor) there is no way that you can go wrong at prices like that. Do the prices of fabrics as mentioned earlier stop me from sewing? No. Do they stop me experimenting with different projects and fabrics? Maybe. So when I found sheer fabrics that would make beautiful blouses and silky textures that I have up until now avoided, how could I refuse? As I discussed in my Miette post, choosing fabric for a project stresses me out, so being able to stock up and barely spend a thing took this pressure away and I am so excited to experiment!
 
Goldhawk Road “I’ll be back” (*yes, I do!)
I am in love with this bird print fabric! I have to make sure that whatever I create with it is really special.
Apparently, this fabric was also bought by a Buyer for Topshop - no pressure!
 
I think this will make a beautiful dress - the colour and pattern will look great all year round!
I love the cute flowers and am very into mustardy yellows at the moment.


   I couldn't resist this lovely yellow and blue - especially at £1.25 per metre!
I think that the pattern looks like tiny life rings

For a long time I have wanted to make a sheer blouse but have been afraid to - with such a bargain, I'm prepared to give it a go!